
Figuring out how to build a LEGO city can be a time-consuming (yet very rewarding) process. If you’re not sure where to begin, this guide will provide you with all the essential steps, guaranteeing that your metropolis of plastic bricks is the best it can be.
People who spent much of their childhoods collecting LEGO sets no doubt dreamed of creating their very own city, a place so expansive that you could get lost for hours. However, unless you were an exceptionally lucky kid, it’s highly unlikely that you had the necessary money to spare.
Since you’re here, we’re going to assume that you’re ready to make your dream a reality, so here’s everything you need to know before you begin what is sure to be a fun and creative project!
Step 1: Plan Your Layout
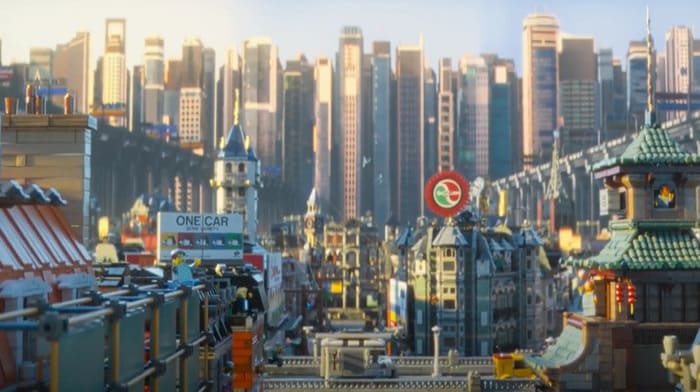
Unlike traditional LEGO sets, a full-scale city doesn’t come with an instruction manual — not if you want it to be unique, that is. You’re going to need to put your thinking cap on and devise a plan that is as feasible as it is ambitious.
What size do you want your LEGO city to be? You must carefully consider the space you have and the money you can spare.
If you have a whole room to fill and pockets with no end in sight, you can afford to be frivolous (and perhaps a little experimental), but most of us don’t live in mansions, so we need to manage our expectations.
First, you should decide on the size and shape of your city - a measuring tape will come in handy! Now think about how many buildings you want and what will fill the empty space.
Do you want roads and pavements? Perhaps some special features, such as parks and lakes? There are many ways to customise your layout, and the more thought you give it, the greater the outcome will be.
Step 2: Gather Materials
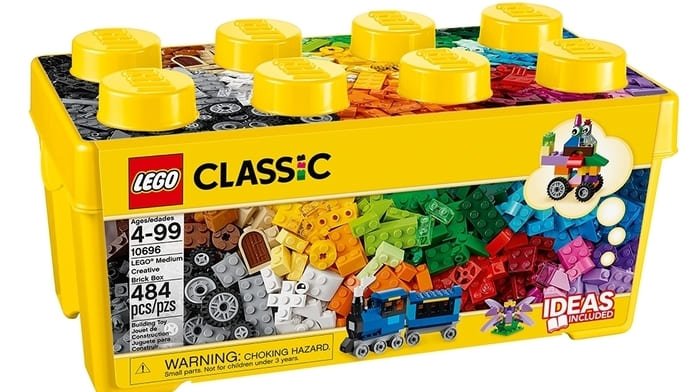
Even when miniaturised, constructing a city requires a lot of resources. In this case, you’ll need a lot of LEGO bricks!
You have a few choices, though: you can build your city from scratch (brick by brick), purchase existing models (like those in the LEGO City and Architecture themes), or combine the two to form a hybrid of fresh and recycled ideas.
To start, it would be smart to purchase a baseplate and some LEGO storage, the latter of which will keep your materials safe when you’re not in the process of construction.
Step 3: Start Building
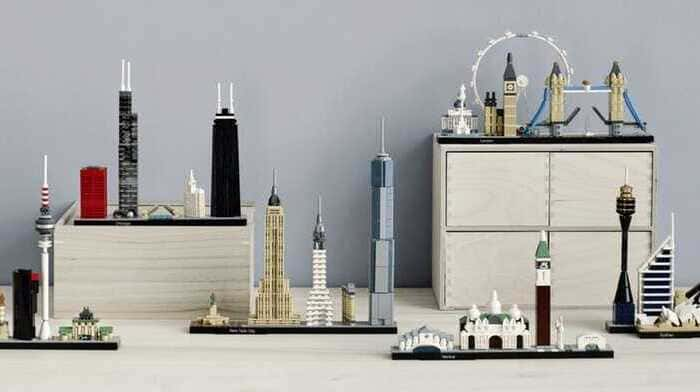
If you’ve opted to purchase existing LEGO sets, assembling your models is going to be relatively simple (for an experienced builder, at least). The difficulties arise when you’ve chosen the route of innovation, as you must embrace your inner architect.
The best advice we can give is to look up photos of real buildings and draw inspiration from the aspects that you like. Remember that your structures should be proportional to the other elements in your city, so your hands are tied if you’ve incorporated buildings from one or more established LEGO themes.
Step 4: Add Roads And Pavements
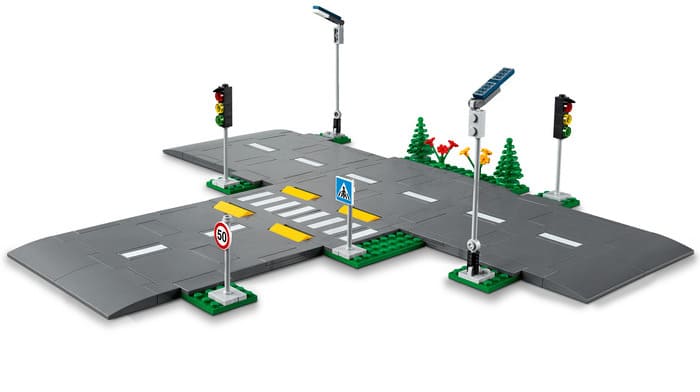
There are loads of plates that can be used to create streets and pavements in your LEGO city. Coming in different colours, these plates can represent different types of roads, be they carriage ways or side streets.
Of course, roads aren’t much use without anything to use them, so select some LEGO sets that include size-appropriate vehicles. Our LEGO City vehicles page has plenty of options to choose from.
Step 5: Add Landscaping
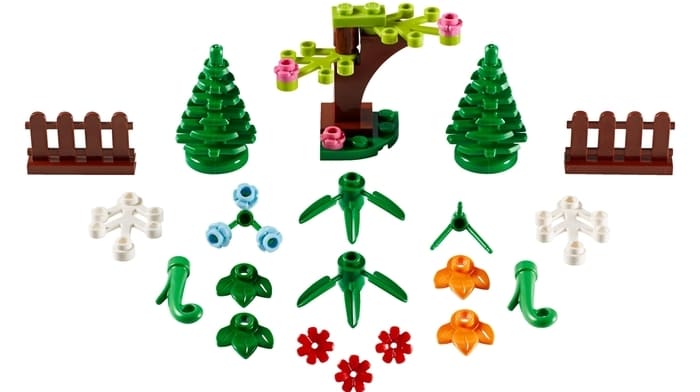
Cities are urban environments, but that doesn’t mean the only colours in sight have to be different shades of grey. Trees, bushes, and flowers are all great additions to a LEGO city, catching the eye and showing that you’ve put some thought into the small details.
If you’re so inclined, you might also enjoy some water elements, such as lakes or rivers. This is especially important for those who’ve made the decision to build a park.
Step 6: Populate Your City

What is a city if not a place where people can go about their day-to-day lives? A lifeless one, we’d argue.
To ensure you don’t fall into the all-too-common trap of neglecting the hustle and bustle of city living, this is your reminder to purchase some minifigures.
The Fire and Police sub-themes from LEGO City will help organise your emergency services, and there’s no reason not to include some characters from LEGO Marvel and DC Comics if you're happy to throw realism out the window.
Step 7: Detail Your City
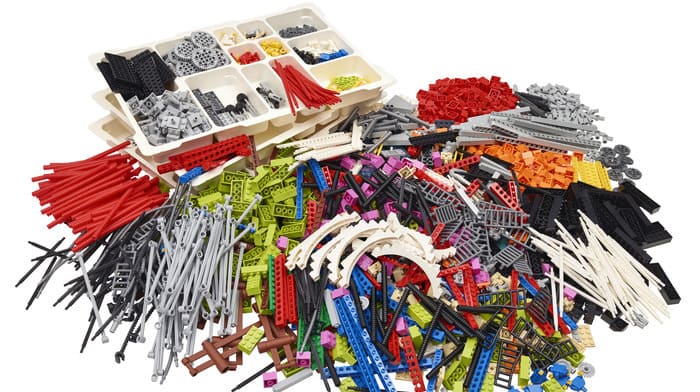
The devil is in the detail, so once you’ve got the essentials in place, we’d suggest adding some extra features. Streetlights, stop signs, benches — each of these adds to the realism of your LEGO city, preventing it from feeling incomplete.
Step 8: Display Your City
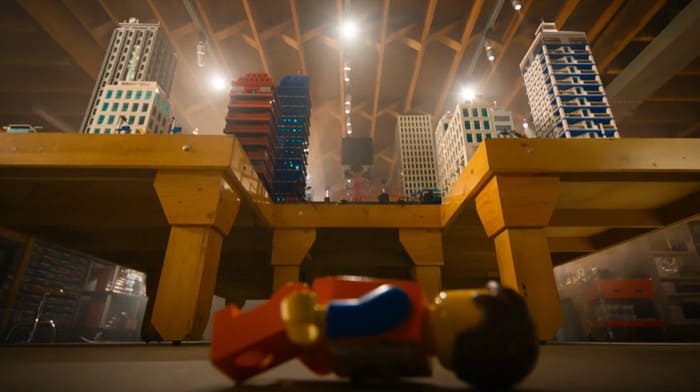
With your LEGO city built, your time and patience rewarded, the only thing left to do is to display it on a table or shelf where it can be enjoyed by both you and others!
For all things pop culture, follow us on Facebook, Instagram, Twitter, and TikTok.

